Nota:
El acceso a esta página requiere autorización. Puede intentar iniciar sesión o cambiar directorios.
El acceso a esta página requiere autorización. Puede intentar cambiar los directorios.
This article shows you how to configure gated deployment rules in Microsoft Defender for Containers.
Gated deployment uses an admission controller to evaluate container images before they're admitted into a Kubernetes cluster. It uses vulnerability scan results from supported container registries to audit or deny deployments when images don't meet your organization's vulnerability policy.
Prerequisites
Before you begin, make sure that:
You have a Microsoft Azure subscription. If you don't have an Azure subscription, you can sign up for a free subscription.
Defender for Cloud is enabled on your Azure subscription.
Defender for Containers is enabled for the environment that contains your Kubernetes cluster and container registry, with the following components enabled:
- Defender sensor with Security Gating
- Registry access with Security findings
Note
If the Kubernetes cluster and container registry are in different environments, enable Defender for Containers and the required components for both environments.
AKS clusters: The cluster has an OpenID Connect (OIDC) issuer enabled.
Your Kubernetes environment and container registry are supported for gated deployment. See the Defender for Containers support matrix.
Vulnerability scan results are available for the container images you want to evaluate. Gated deployment uses vulnerability assessment findings from supported registries.
You have the required permissions:
- To create or change gated deployment rules, you need Security Admin or higher permissions.
- To view gated deployment rules, you need Security Reader or higher permissions.
Configure a gated deployment rule
Sign in to the Azure portal.
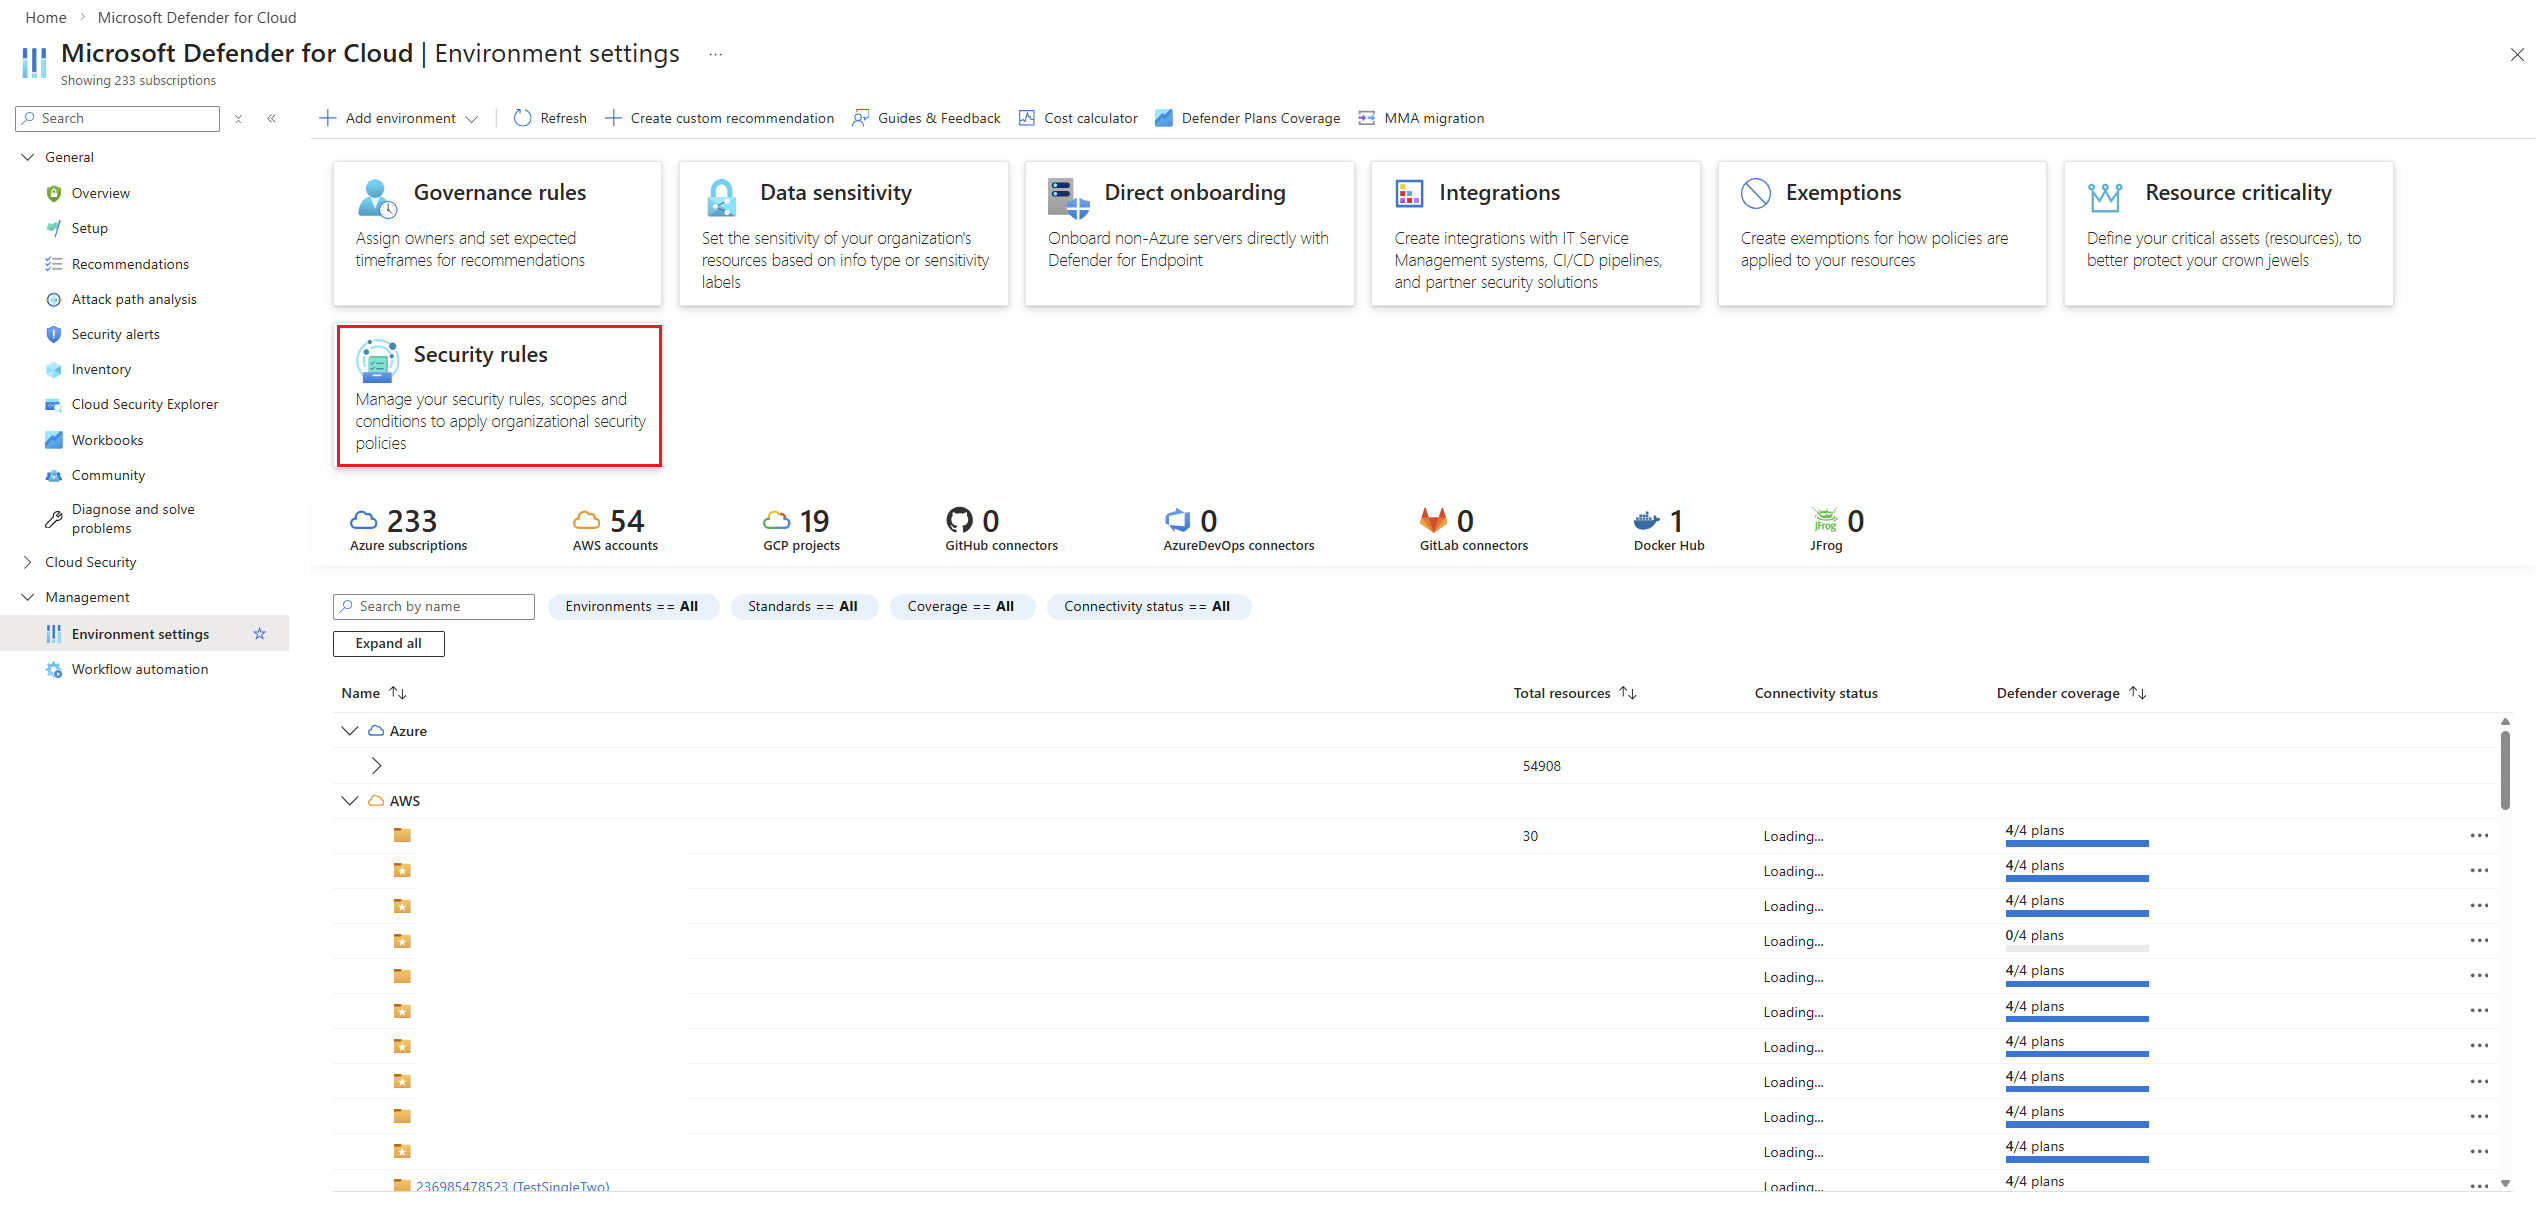
Go to Microsoft Defender for Cloud > Environment settings.
Select Security rules.
Select Gated deployment > Vulnerability assessment.

Note
By default, after the required prerequisites are met, Defender for Containers creates an audit rule that flags image deployments with high or critical vulnerabilities.
Select Add rule.
Enter a Rule name.
Select an Action:
- Audit: Allows the deployment and creates an admission event for review.
- Deny: Blocks deployments that match the rule conditions.
Tip
Start with Audit to understand the effect of the rule before you use Deny mode to block deployments.
Note
Deny mode can introduce a one- or two-second delay during deployment because the image is evaluated before the workload is admitted into the cluster.
If needed, enter a Rule description.
Enter a Scope name.
Select the Cloud scope.
Under Resource scope, keep the default scope or select Add condition to narrow the rule scope.
Tip
Start with a narrow scope, such as namespace or deployment, before applying broader enforcement.

Select Next.
Toggle on Block all deployments with missing artifacts if you want to block deployments when vulnerability findings artifacts aren't available.
Select Add condition, and define at least one condition for the rule.
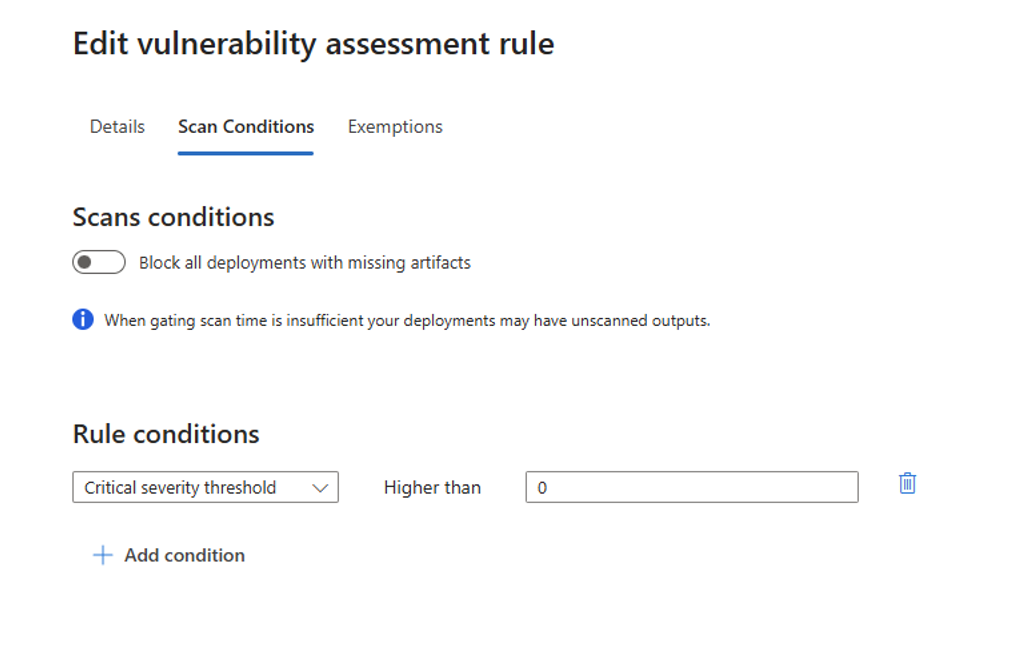
Select Next.
To exempt specific vulnerabilities, select Add allowed vulnerabilities, and then enter the CVE IDs that you want to exempt.
To make the vulnerability exemption temporary, toggle on Time bound, and then select a Valid until date.
To exempt specific resources, select Add exemption, and then define the resource-based exemption.

Select Add Rule.


Monitor gated deployment events
You can monitor gated deployment events to review rule evaluations, triggered actions, and affected resources. Use these events to help refine rule scope, conditions, and exemptions.
To investigate a specific admission event:
Sign in to the Azure portal.
Go to Microsoft Defender for Cloud > Environment settings.
Select Security rules.
Select Gated deployment > Admission Monitoring.

Select an event from the list.
The details pane shows:
- The event timestamp and admission action.
- The container image digest, detected violations, and triggered rule.
- The vulnerability assessment policy and criteria used for evaluation.
- The rule conditions and exemptions that were applied.


Disable or delete a gated deployment rule
To disable or delete a gated deployment rule:
Sign in to the Azure portal.
Go to Microsoft Defender for Cloud > Environment settings.
Select Security Rules.
Select the Vulnerability Assessment tab.
Select the rule.
Select Disable or Delete rule.